Whether you’re a drywall contractor or a homeowner, understanding the five levels of drywall is key for construction projects. Each level builds upon the previous one, preparing walls for different painting and texture applications. Having a clear understanding of these standards helps all parties align expectations and ensures the right level is used for each room.
The Gypsum Association created the drywall finish levels to standardize how walls are assembled and sealed during the building process. These levels also help homeowners, architects and contractors communicate their finishing requirements more clearly to the Grey County Drywall Collingwood contractor and avoid miscommunications that can occur on job sites.
Level 0: No tape or finishing
The lowest level of drywall finishing provides a raw surface and can only be applied to interior surfaces. This is useful for temporary areas of the home or a space where all final decoration decisions have yet to be made. During this stage, a thin coat of joint compound is brushed onto the surface. Excess mud is then scraped off.
This leaves the paper with a distinct texture from the joint. This makes it easy to see the joints if you’re looking for them or if light hits them at certain angles. Generally, these areas are used for storage rooms, garages and other spaces where the wall’s appearance is not a priority.
Level 1: Single coat of joint compound
This is a more refined finish than Level 0, allowing for a cleaner look and less visible joints. At this stage, a thin coat of joint Compound is skimmed over the embedded tape and ridges are acceptable. This is a common option in fire barrier applications and in rooms that are not open to the public such as warehouses or storage rooms.
Level 2: Wiped with a joint knife
Level 2 of drywall finishing involves a slightly more detailed process than Level 1. At this point, a joint knife is run across the entire surface to wipe away any excess joint compound and to smooth the textured area. All joints and interior angles are wiped with the joint knife, and all drywall screw holes are covered.
At this point, the drywall is ready for paint and some types of textures such as knockdown and spray texture. A quick setting drywall compound may be used to expedite this step, as it can dry and sand in minutes.
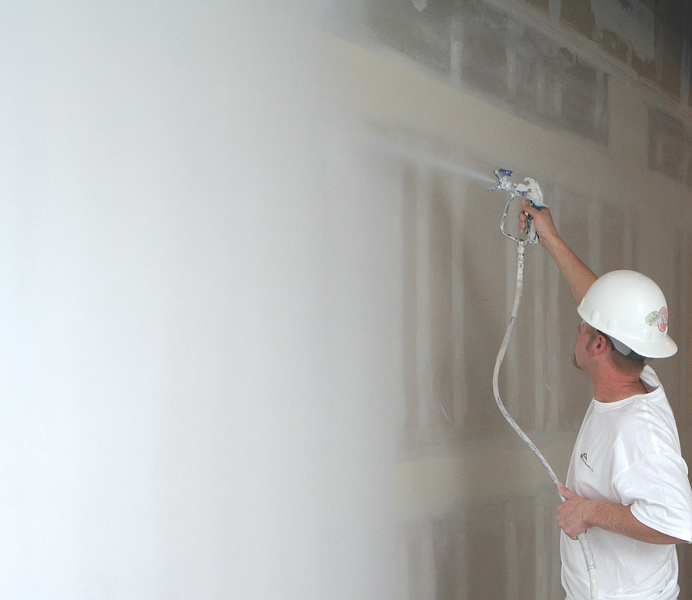
Level 3: Taping, skim coat and sanding
This level is the most popular and allows for a smooth, ready-to-paint surface. The sanding process removes any remaining ridges and imperfections and creates a smooth surface that’s ready for a light sanding prior to painting.